
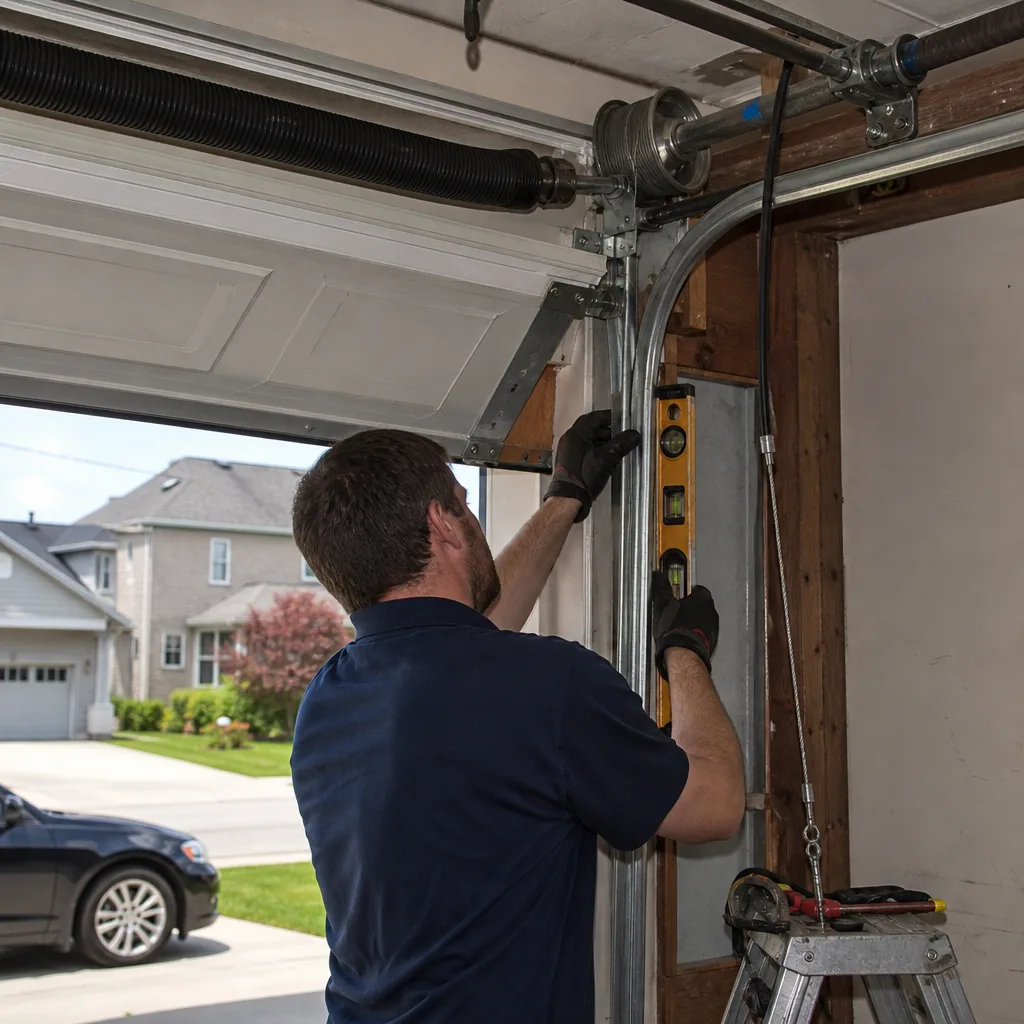
Last updated November 20, 2026
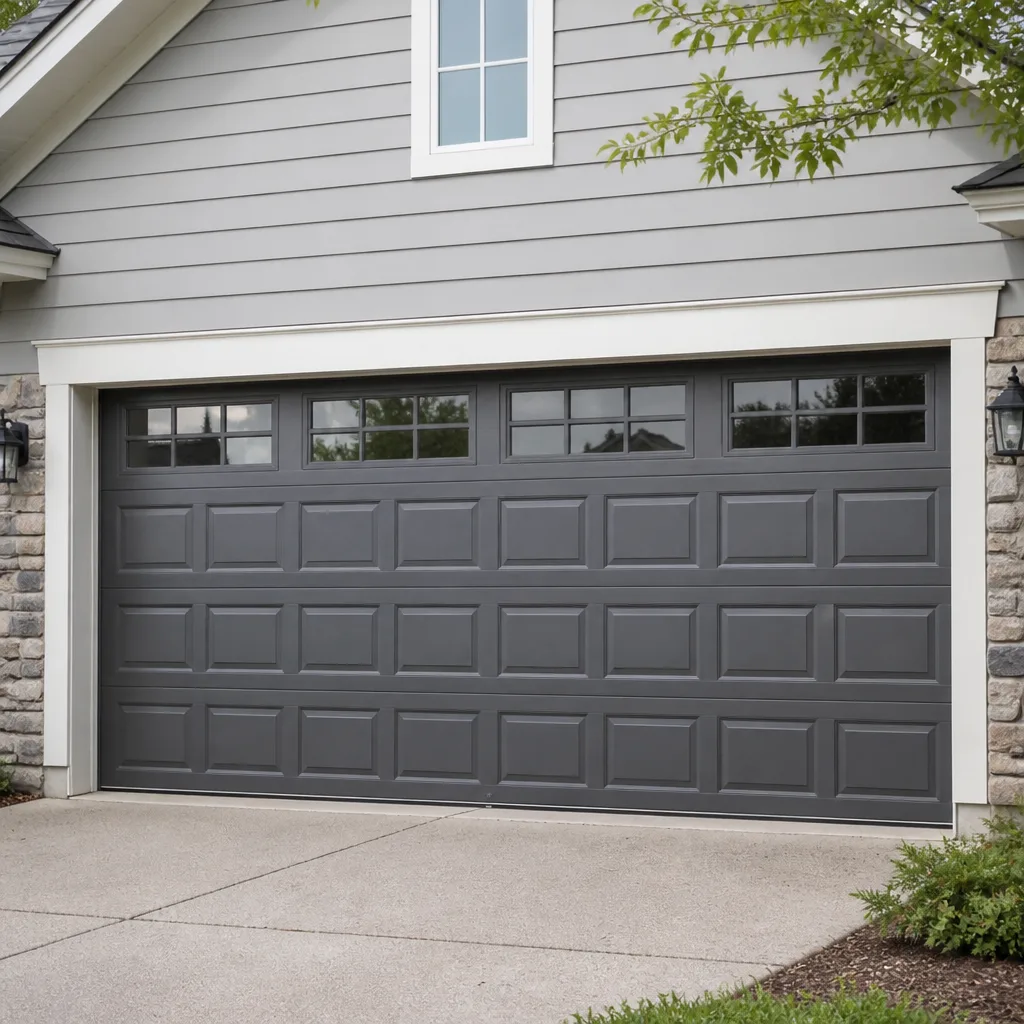 Raised-panel steel
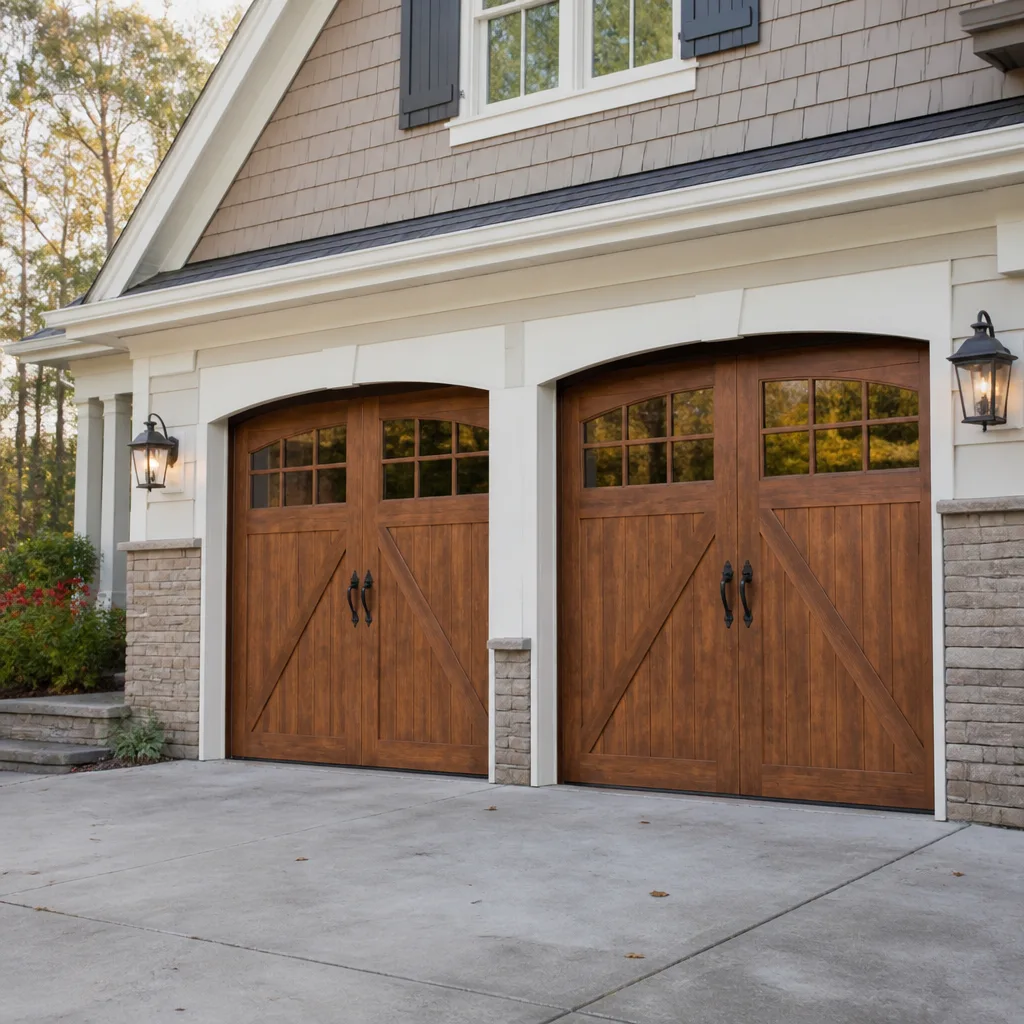 Carriage house
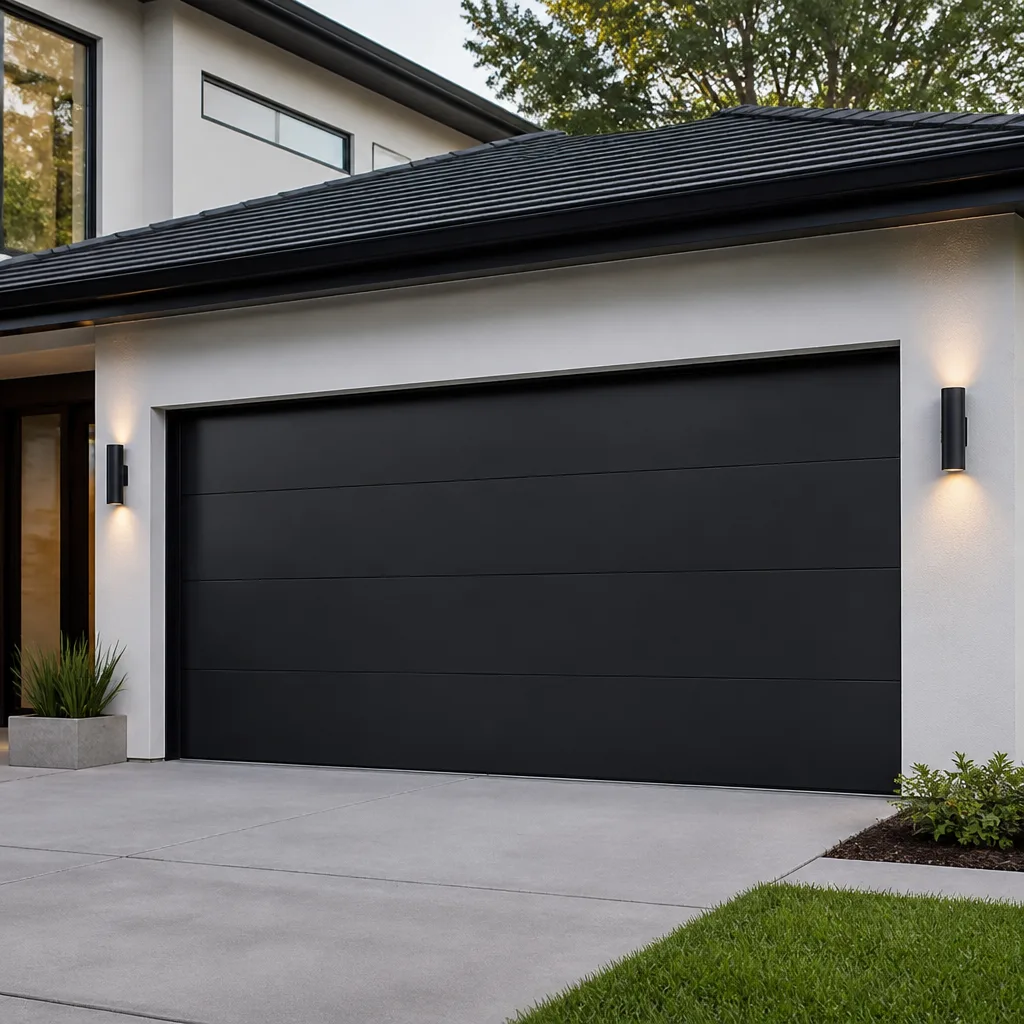 Modern flush
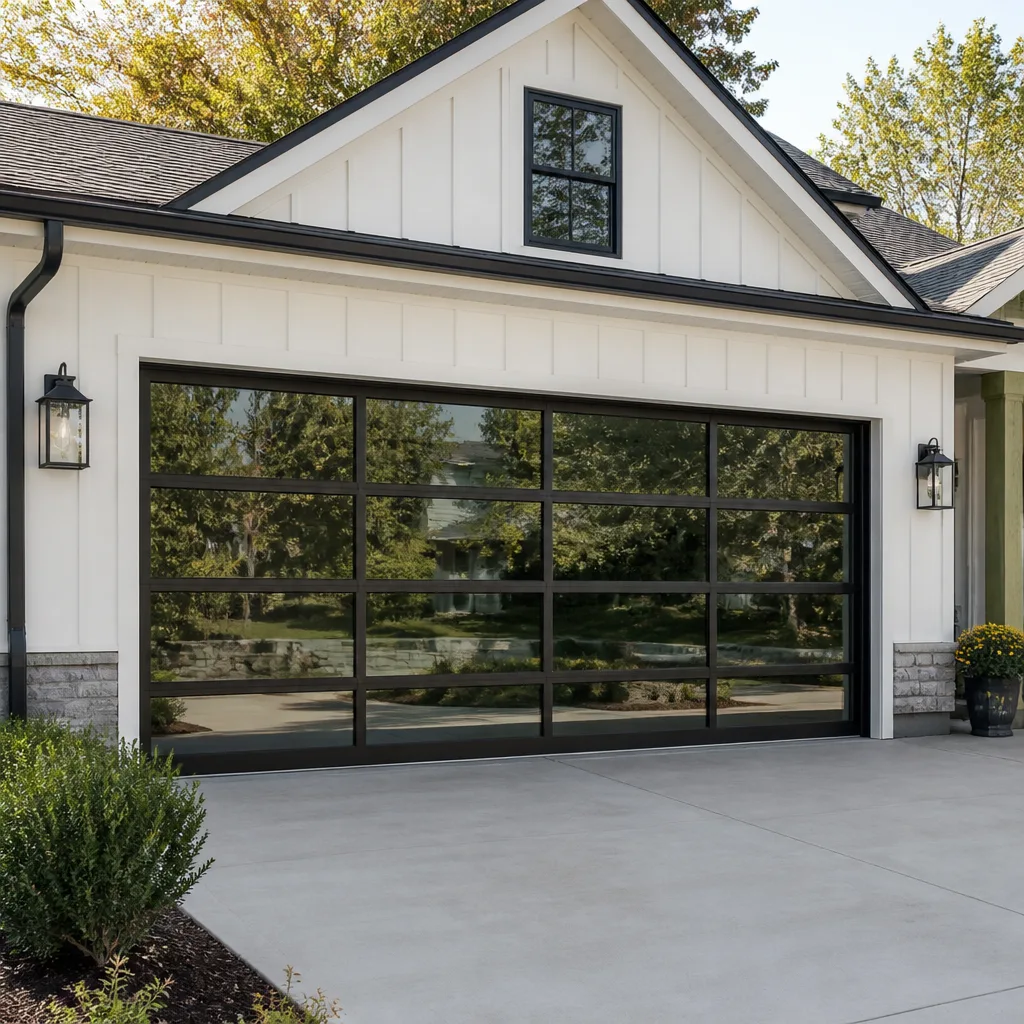 Full-view glass
 LiftMaster openers
 Chamberlain openers
Full 25-point door and opener safety check with every visit - springs, cables, rollers, tracks, and your LiftMaster or Chamberlain opener included
You get a price before we start. It does not change when the pro arrives.
Get your free estimateGarage Door Repair Maintenance Checklist for Akron Homeowners
Most garage door breakdowns we get called for don’t start as breakdowns. They start as a cable that frayed a little more each month, or a door that settled into a slight uneven gap that a homeowner wrote off as “just how it sits.” By the time the door stops moving, that small thing has been visible for months. A checklist that only tells you to “inspect the springs” doesn’t help, because you need to know what a failing spring actually looks like. This guide gives you diagnostic benchmarks: what to look at, what normal looks like, and what means call someone. You’ll finish knowing how to read your own door the way a technician does in Akron.
Quick Answer
A workable garage door maintenance checklist covers five things: a monthly visual inspection of springs, cables, and rollers; a balance test to confirm spring tension; lubrication of the right parts with the right product; a seasonal weatherstripping check for Akron’s freeze-thaw winters; and the opener’s force-sensitivity test. Most of it takes 15 minutes and requires no tools beyond a rag and a can of lubricant.
What separates a useful checklist from a useless one is benchmarks. You’re not looking for “worn springs.” You’re looking for a specific color at the winding cone, a specific gap in the coil spacing, a door that stops more than 2 inches from midpoint.
Styles & brands we work with
- Raised-panel steel
- Carriage house
- Modern flush
- Full-view glass
- LiftMaster openers
- Chamberlain openers
Table of Contents
- Reading Torsion Spring Wear: The Visual Benchmarks
- The 10-Second Balance Test
- Lubrication by Component: What Gets Grease, What Gets Silicone, What Gets Nothing
- Cables, Rollers, and Hinges: The Parts That Fail Quietly
- Akron Weatherstripping: Spotting Compression Failure After Winter
- The Opener Force-Sensitivity Test Most Homeowners Have Never Run
- A Month-by-Month Maintenance Schedule
- What You Should Never Touch Yourself
Reading Torsion Spring Wear: The Visual Benchmarks
Springs give you warning signs before they break, and those signs are visual. The problem is that most homeowners don’t know what a healthy spring looks like, so there’s nothing to compare against. Here’s the comparison.
Look at the torsion spring mounted on the shaft above your door, at the end where it meets the winding cone. On a healthy spring, the paint or coating at that cone is intact and the same color as the rest of the spring. Coils sit tightly together with even spacing along the whole length. When a spring is approaching failure, you may see rust blooming at the winding cone, paint flaking off in a patch, or coils with a visible gap between them where they used to be tight. A thin dark line along the spring where paint has cracked also counts as wear.
What the changes mean:
- Intact coating, even coil spacing: normal, keep watching monthly.
- Rust at the winding cone or end cone: the spring is stressed in that exact spot, which is where most break.
- Coils separating or a noticeable gap in the winding: the spring has lost tension and the door may already be running heavier than it should.
- Visible paint crack along the coil length: the spring is fatigued even though it hasn’t broken.
- Two springs of different ages on the same shaft: one is carrying more load than the other, which shortens both.
Akron winters add a specific load. Doors cycle through repeated freeze-thaw cycles, and the contraction and expansion stresses the metal in the spring more than a door in a milder climate sees. That doesn’t mean springs fail everywhere in Akron every winter, but it does mean a spring that’s showing early rust is worth watching instead of waiting on. If you’re unsure whether what you’re seeing is wear or normal, a free estimate is the right answer, and we’d rather look at a spring that turns out to be fine than have you find out the hard way. We handle dedicated Akron Garage Door Repair Co spring work on a routine basis, and spring replacement is one of our most common jobs.
One point worth stating plainly: torsion springs and their cables are under extreme tension, and they can cause serious injury if handled without the right tools and training. Don’t attempt to loosen, wind, or remove a spring. Read the wear signs, then call.
The 10-Second Balance Test
This test tells you whether your springs are still doing their job, and it takes almost no time. The benchmark: a properly balanced door stops within 2 inches of the midpoint when you disengage the opener and lift it halfway.
Here’s the procedure:
- Close the door fully and pull the red release handle on the opener carriage to disconnect the door from the opener. The door is now manual.
- Lift the door by hand to roughly waist height, about halfway open. Lift with your legs and keep both hands on the door, not the panel edges.
- Let go. Stand clear.
- Watch where the door stops.
- If it stays within 2 inches of the height you released it at, the springs are balanced and doing their job.
- If it drops more than 2 inches, the springs have lost tension or one has failed. If it rises on its own, the springs are over-tensioned.
- Reconnect the opener by pulling the door up until the carriage clicks back in, or by running the opener until it re-engages.
What the result means in practice: a door that sags toward the floor isn’t just annoying to lift. It’s wearing the opener out. The opener is being asked to lift weight the springs should be carrying, and the motor or the drive gear takes the extra load every time you open the door. That’s how a spring problem turns into an opener problem, and then into two repair bills.
Run this test once a month. It takes less time than reading this paragraph, and it catches tension loss before it turns into a door that won’t open at all. If the door fails the test, stop using the opener and call for a free estimate rather than running it manually until it breaks. Call (877) 792-5739 to book a look.
Lubrication by Component: What Gets Grease, What Gets Silicone, What Gets Nothing
Lubrication is where most DIY checklists get it wrong, because they say “lubricate the door” and stop there. Different parts need different products, and some parts need nothing at all.
Here’s the spec by component:
- Torsion spring (the coils): a light coat of garage door lubricant, not grease in a tub. Wipe on a thin film, don’t soak it.
- Hinges at the pivot points: white lithium grease or a garage door spray lubricant. A small shot at each hinge knuckle, not on the flat plates.
- Roller stems (not the wheels): lithium grease or dedicated roller lubricant at the stem where it pivots in the hinge. The roller wheel itself is usually sealed and needs nothing.
- Track: nothing. Tracks stay dry. Lubricant on a track collects grit and dust, and grit in the track is worse than a dry track. Wipe tracks clean with a rag.
- Weatherstripping and the bottom seal: silicone spray, wiped on. This keeps the rubber pliable through Akron’s dry winter air and prevents cracking.
- Opener rail or chain: follow the opener manufacturer’s spec. Chain-drive units typically take a specific chain lubricant, belt drives take nothing, and screw drives take a small amount of the correct grease.
- Photo-eye lenses: nothing. Clean with a dry cloth only.
The one part never to lubricate: the track surface. This is where most homeowner mistakes happen, because oil on a noisy track feels like the fix. It’s not. It quiets the door for a week, then collects grit and starts binding the rollers. A noisy track usually means a misaligned track, a bent roller, or a loose hinge, not a dry track.
How often: lubrication twice a year is the general benchmark. In Akron, a good rhythm is one round in late fall before the cold sets in and one in spring after the freeze-thaw season. That schedule pairs well with the weatherstripping check below.
Cables, Rollers, and Hinges: The Parts That Fail Quietly
Springs fail loudly. Cables fail quietly, which is why they show up in so many emergency calls. The cable runs from the bottom corner of the door up to the drum at the top of the track, and it’s what keeps the door level as it moves. A cable that’s starting to fray is the failure homeowners walk past most often.
What to look for on the cables:
- Fraying at either end: look for broken strands sticking out of the cable near the drum or the bottom bracket. Even one broken strand means the cable is compromised.
- Kinking or a visible bend: the cable should run straight and taut. A kink means it’s been overloaded or has jumped the drum.
- Slack on one side: if one cable is loose while the other is tight, the door is running unevenly, which puts load on one side and can cause the door to bind.
- Rust on the cable itself: common in Akron where doors see damp weather, but visible rust is a sign to have a professional look.
Rollers and hinges are the other quiet-failure parts. Check the rollers by looking at each one from the side: the roller should be round and seated straight in the hinge. A flat spot, a chipped edge, or a cracked nylon roller means replacement. Nylon rollers tend to crack as they age; steel rollers wear flat spots. On the hinges, look for loose screws at the pivot plates; a hinge that’s pulled loose will let the roller shift, and the door will start scraping.
Any noise from the door during operation that wasn’t there last month is worth investigating. A grinding sound is usually a roller. A popping sound at the start of travel is often a hinge or a loose bracket. A scraping sound is a misaligned track or a door that’s out of level.
If a cable is fraying or a roller is cracked, we can take a look and give you a written price before any work starts. The same is true for full garage door repair on any failing part.
Akron Weatherstripping: Spotting Compression Failure After Winter
Akron’s winters put real stress on the bottom seal. The freeze-thaw cycle compresses the rubber repeatedly, and over several seasons the seal that once sprang back no longer does. Most homeowners don’t notice until they see daylight under the door or feel cold air coming in.
Here’s the compression test. With the door closed, stand inside the garage and look at the bottom seal along the floor. A healthy seal sits flat against the concrete with no visible gap. Then check whether the rubber recovers its shape after you press it. A seal that stays compressed after a light press, or has visible flat spots and cracks, has failed.
Signs that mean replace, not adjust:
- Flat spots along the bottom seal: the rubber has taken a permanent set and won’t recover.
- Cracks in the rubber: the seal is brittle and will start to leak.
- A visible gap under the door in more than one spot: uneven pressure against the floor, usually from a track or bottom-bracket issue as well as a worn seal.
- Daylight visible under the closed door: the door no longer seals, and warm air or pests get in.
Signs that mean adjust, not replace:
- The seal is pliable but the door sits a hair high: the travel limit on the opener is set slightly short. That’s a small adjustment.
- The seal is fine but the door has a gap on one side: usually the track has shifted slightly, or the door is out of level.
- The bottom bracket has worked loose: a hardware problem, not a seal problem.
Also check the vertical weatherstripping on the door jambs, not just the bottom. The side seal is what keeps wind-driven rain and cold out, and it’s typically the first to split at the corner where the door seals against the frame. Both kinds of weatherstripping take silicone spray to stay pliable, and both should be inspected after the freeze-thaw season clears each spring. This is also the point when we see the most Clopay and Amarr doors come through with worn bottom seals: not because the doors fail, but because the seals do.
The Opener Force-Sensitivity Test Most Homeowners Have Never Run
Your opener has a safety reversal system: it’s supposed to reverse if it meets resistance. Most homeowners have never tested it. Put a 2×4 flat on the floor under the door and close the door onto it. A properly adjusted opener will reverse when the door hits the board. If it pushes down and stops on the board without reversing, the force setting is too high and needs adjustment.
The second half of the test is on the photo eyes: the small sensors at the bottom of each track. Wave something in front of one of them while the door is closing; the door should reverse. If it doesn’t, one of the eyes is misaligned or blocked, and the door should not be run until it’s fixed.
How to adjust the force setting depends on the brand:
- LiftMaster and Chamberlain: both use the same programming architecture since they share a parent company. The force setting is accessed through the learn button and the up/down adjust buttons on the back of the motor housing, or through the MyQ app on newer models. The exact sequence varies by model, and the manual is the reliable source.
- Genie: force adjustment is usually a pair of screws on the back or side of the motor housing, labeled “open force” and “close force.” Turning them clockwise increases force, counterclockwise decreases it. Genie has used this layout for years.
- Craftsman: force adjustment is on the back panel with a similar up/down screw layout. Craftsman openers are common in Akron garages, and the force settings drift over years of use.
Why this matters: a door that’s pushing too hard on an obstruction is a hazard to anyone standing under it, and to the door itself. It’s also the first sign of a spring that’s given up, because the opener compensates by increasing force. If the opener is straining to close the door, check the balance test first, then the force setting.
If you’re not comfortable adjusting the opener yourself, that’s fine; we handle garage door opener repair across all the major opener brands, and we can run the test in a few minutes and tell you what’s out of spec. A door that fails the reversal test shouldn’t be used until it’s fixed.
A Month-by-Month Maintenance Schedule
The following schedule is what we’d suggest for a typical Akron garage door, and it takes about an hour per year total:
- Monthly: run the balance test. Look at the springs, cables, and rollers. Listen for new noises.
- Monthly: check that the photo eyes are aligned and clean. Wave a hand in front of one to confirm the reversal.
- Quarterly: check the hinges and bracket screws for looseness. Tighten any that need it.
- Twice a year (late fall and spring): lubricate the springs, hinges, and roller stems. Silicone-spray the weatherstripping. Wipe the tracks clean.
- Once a year in spring: the full weatherstripping compression check, especially after a hard winter. Confirm the bottom seal still sits flat.
- Every couple of years: a full professional inspection. This is where we look at things that are hard to see from inside the garage: cable wear at the drum, spring tension measured with the right tools, track alignment, and the opener’s internal gear and drive components.
If you’re not sure whether your current door has ever had a professional inspection, that’s the point to schedule one. It costs nothing to get a free estimate, and it’s a much easier conversation to have about a door that’s a little worn than a door that’s broken.
What You Should Never Touch Yourself
A few parts of the garage door are genuinely dangerous to work on. State the caveat plainly: torsion springs, the cables under tension, and the bottom brackets are under extreme mechanical tension, and they can cause serious injury without warning. Springs can break while you’re standing next to them. Cables can snap and whip.
What to leave to a trained professional:
- Torsion spring adjustment, removal, or winding: requires a winding bar and knowledge of the specific tension the door needs. Not a homeowner job.
- Cable replacement: the cables are under spring tension and can whip if released incorrectly.
- Bottom bracket removal: the bottom bracket holds the cable under tension, and it’s the single most dangerous bracket on the door.
- Track straightening with the door under load: the door can fall if the track is moved while it’s supporting the panel weight.
- Any repair on a door that’s currently off its tracks: call for emergency service instead of trying to get it back on.
What a homeowner can safely do: run the balance test, check the cables visually (don’t touch them), lubricate the accessible parts, clean the tracks, test the photo eyes, and adjust the opener settings if the manual is clear. That covers most of the maintenance value.
For the rest, and for anything that involves tension or a broken component, call a trained professional. Our technicians have up to 8 years of experience, and we service your existing brand, including Genie, Clopay, Amarr, and Wayne Dalton, so you don’t need to chase down a brand specialist. We also offer emergency service for stuck or broken doors.
Common Mistakes to Avoid
- Lubricating the tracks. Oil or grease on a track collects grit and starts binding the rollers. Tracks stay dry; wipe them clean with a rag instead.
- Running the opener on a door that fails the balance test. The opener takes the extra load every time and will fail too. The spring needs attention before the opener does.
- Skipping the force-sensitivity test. The 2×4 test takes 30 seconds. A door that blocks on an obstruction is a hazard, and it’s the cheapest safety check on the entire list.
- Ignoring a slightly uneven gap under the door through Akron’s winter. A small gap means the seal has failed or the door is out of level, and cold air, damp, and pests get in through it. Check it after the freeze-thaw season, not just when you notice it.
- Replacing a whole spring pair when one spring has broken. If the springs were installed as a matched pair, replacement as a pair is the right call. Replacing one apparently used spring against one older spring leaves them unequal and shortens both.
- Adjusting a torsion spring yourself. The springs are under extreme tension, and the tools required to adjust them safely are not standard garage equipment. This is the one repair on the door that should always go to a professional.
- Assuming a noisy door means the door needs replacing. Most noise comes from a worn roller, a loose hinge, or a dry pivot, and a repair is usually the right answer. The same goes for a door that’s slow: the opener is usually the culprit, not the door itself.
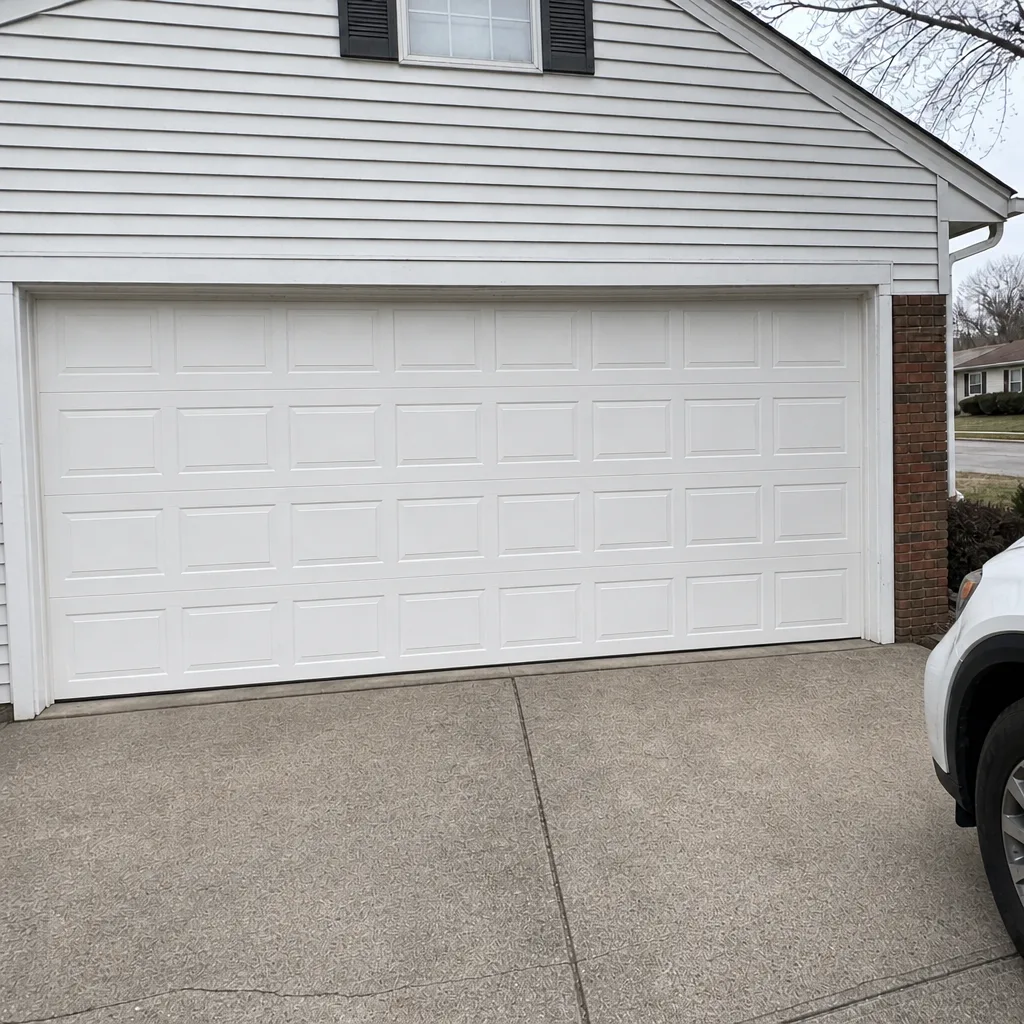
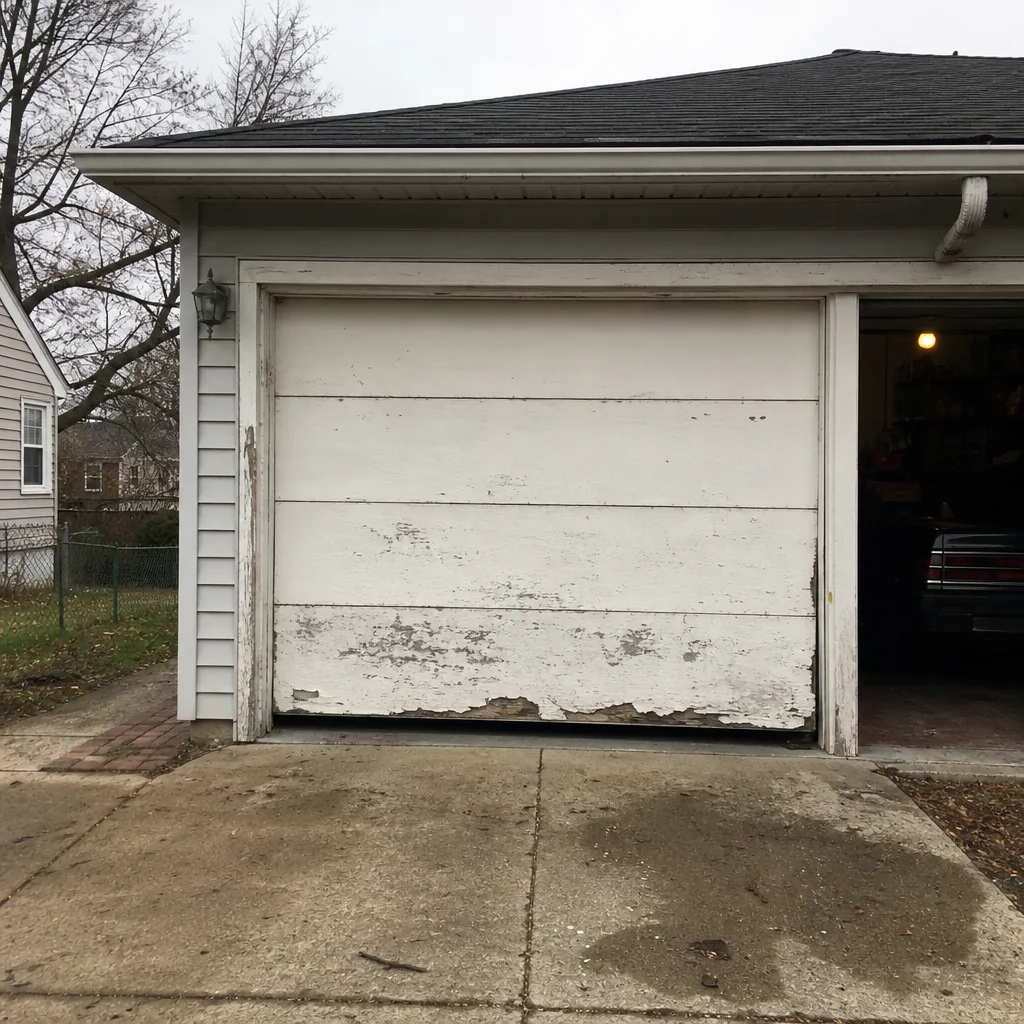
See the difference
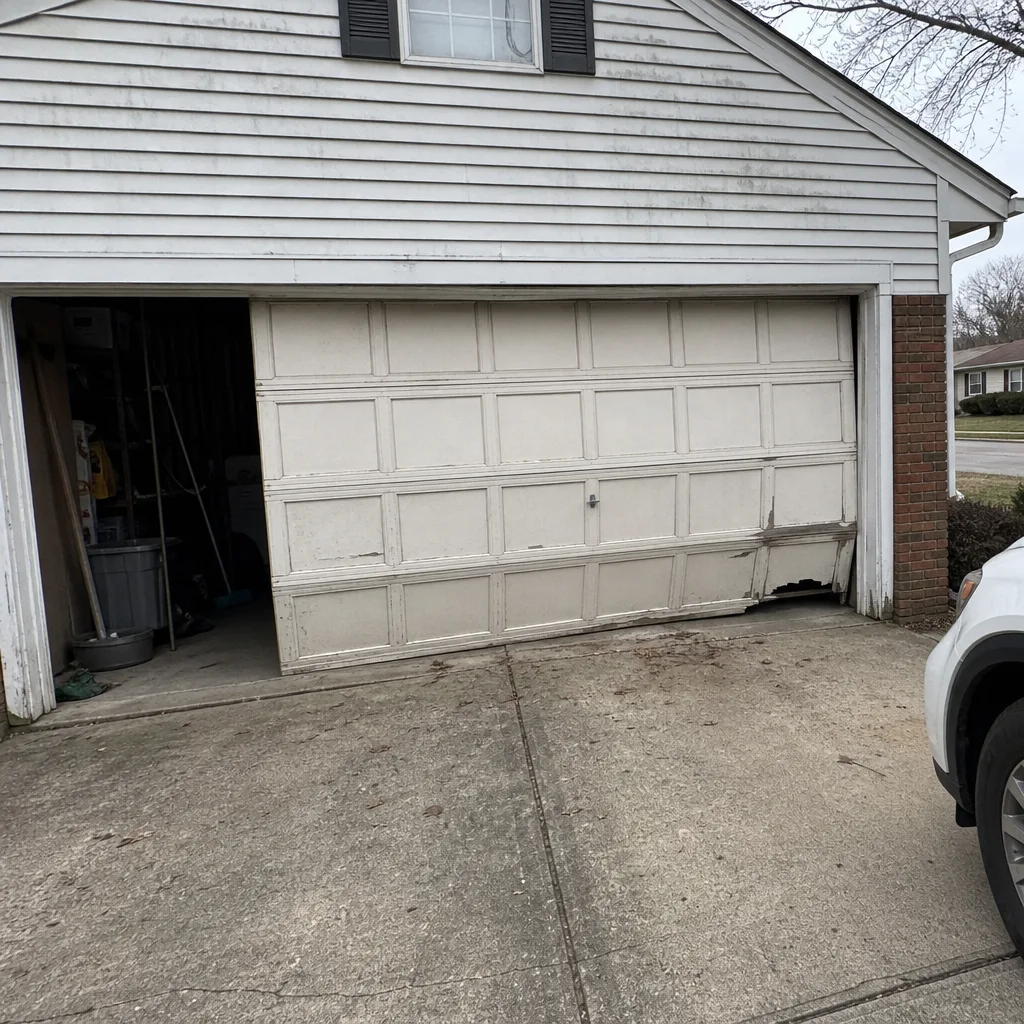 Before
 After
 Before
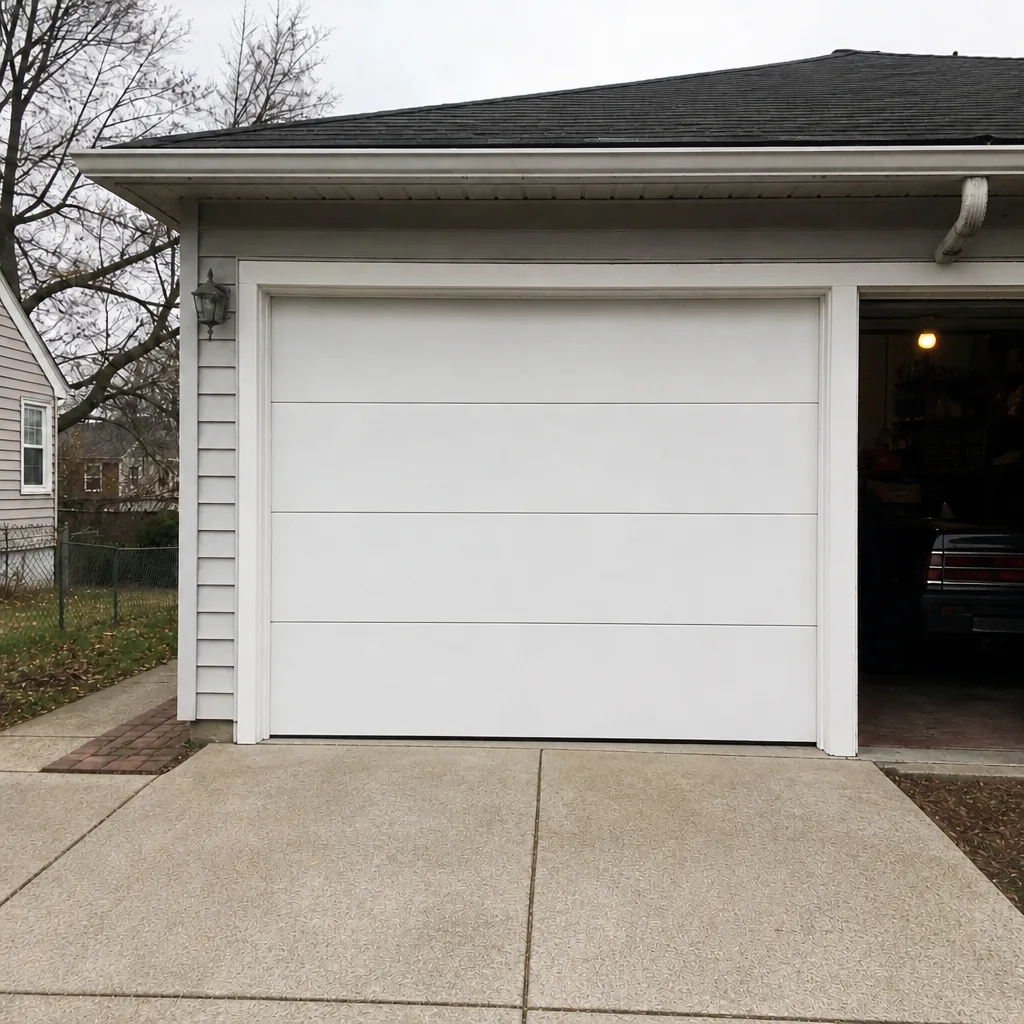 After
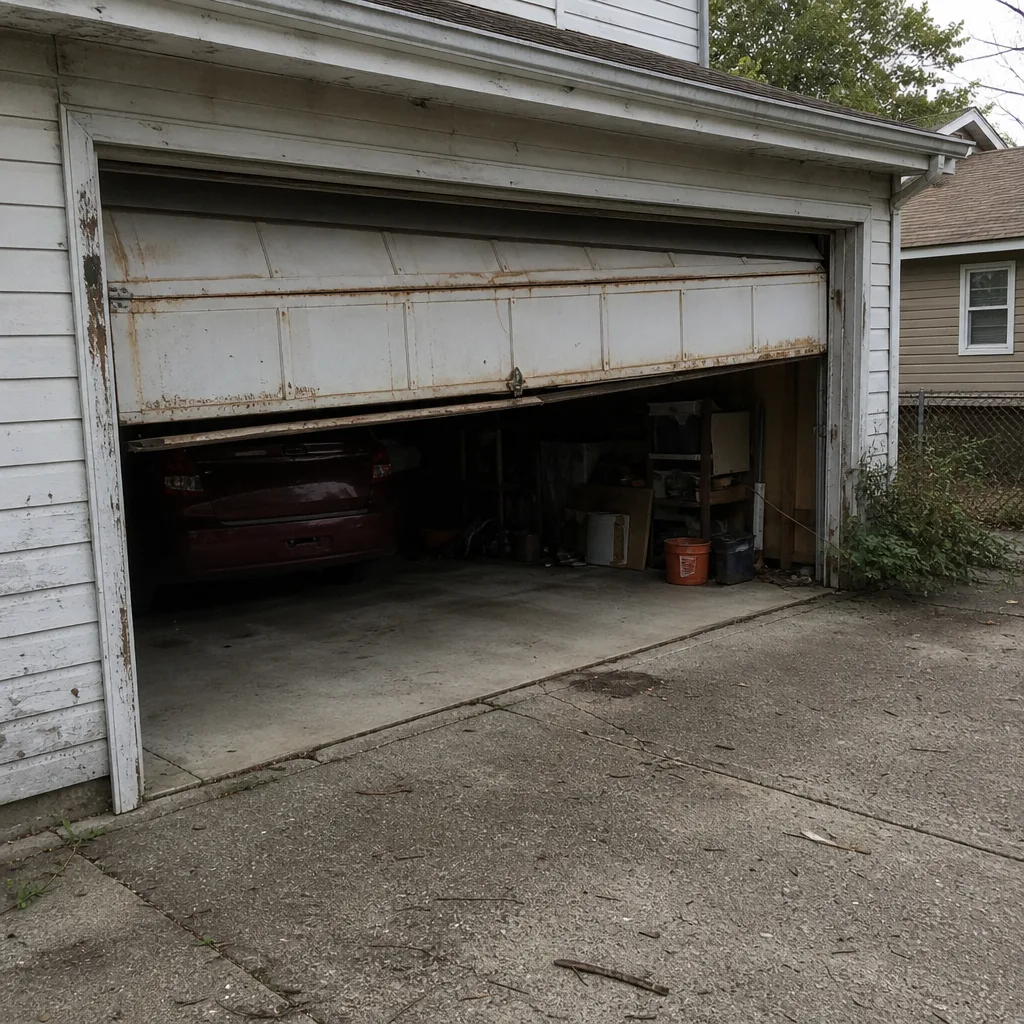 Before
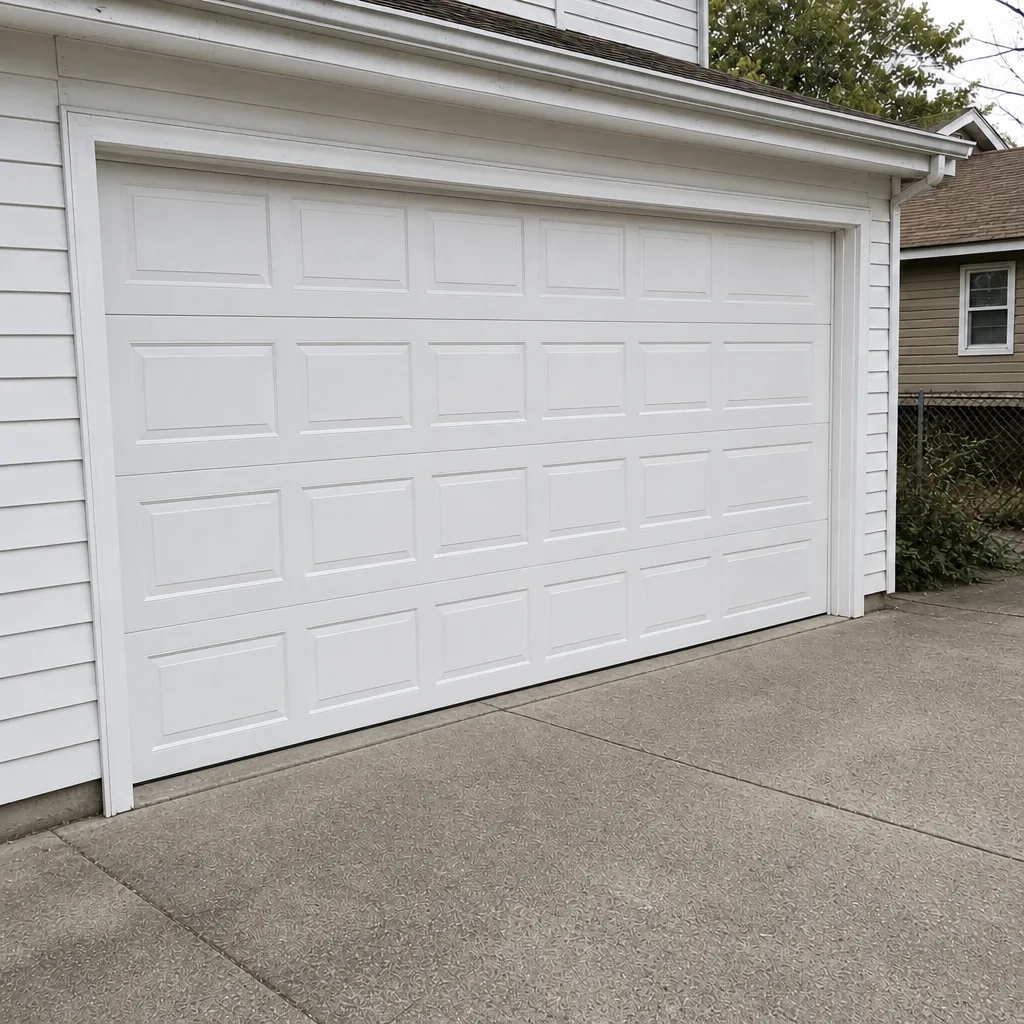 After
When to Call a Professional
Call a professional for a broken spring, a frayed or snapped cable, a door that’s off its tracks, a door that fails the balance test, an opener that won’t reverse on the 2×4 test, or any visible damage after a storm. Call immediately if the door is stuck open and the house is unattended. Call before you touch a torsion spring or a bottom bracket, always.
For everything else, a free estimate is the low-cost way to find out whether a repair is needed. We can also look at a door you’re considering replacing and tell you honestly whether repair is the better answer. The Akron Garage Door Repair Co team works on whatever brand is already in your garage, and we’ll quote the price in writing before any work starts. We answer 24/7, and we dish out same-day service when the failure is urgent. For straightforward new door planning, we’ll come out and get the measurements right instead. Call (877) 792-5739 for a free estimate. Fast dispatch from 7am to 7pm, Sunday through Friday.
Frequently Asked Questions
Once a month is the right benchmark. The test takes about 10 seconds: disconnect the opener, lift the door to halfway, and see where it stops. If it stops more than 2 inches from where you released it, the springs have lost tension and the door needs a repair before the opener gets damaged too.
The most reliable sign is rust or flaking paint at the winding cone, where the spring is under the most stress. Coils with visible gaps where they used to be tight also signal failure, as does a thin dark crack along the paint on the coil length. Any of these means call for an inspection; the spring is already under the load and failures happen without warning.
You can do most of the routine lubrication yourself. Springs, hinges, and roller stems take lithium grease or a garage door lubricant; weatherstripping takes silicone spray; tracks take nothing but a clean rag. The job most homeowners get wrong is over-oiling the tracks. Don’t oil them. If your door is noisy after a lubrication round, the noise is telling you something else is worn.
If the rubber is pliable and the door sits a hair high, that’s an opener travel limit adjustment, not a seal problem. If the rubber is flat, cracked, or stays compressed after you press it, it’s failed. The bottom seal and the side jamb seals both need inspection after Akron’s freeze-thaw season clears; that’s when most compression damage shows up.
Put a flat 2×4 on the floor under the door and close the door onto it. The door should reverse when it contacts the board. If it pushes and stops without reversing, the force setting is too high. For LiftMaster and Chamberlain, force is adjusted through the learn button or the MyQ app; for Genie, it’s typically a pair of screws on the motor housing. If you’re unsure, call for help; the reversal test is a safety function and shouldn’t be assumed.
Call for emergency service when the door is stuck open or is stuck off its tracks and won’t close, or when a broken spring, snapped cable, or storm damage has left the door in a dangerous position. A door that’s stuck open is a security problem. For anything else, a standard repair estimate is the right next step. We answer 24/7, and we dispatch Sunday through Friday, 7am to 7pm.
The Bottom Line
Garage door maintenance isn’t complicated. It’s a monthly balance test, a pair of lubrication rounds a year, a spring check after each season, and a weatherstripping inspection each spring. The value comes from knowing what to look for: a specific color at the winding cone, a gap of more than 2 inches, a flat spot on a bottom seal. Run the balance test this week, look at the spring, and check the cables. If anything looks worn, that’s the point to call, not after the door fails. Call (877) 792-5739 for a free estimate. We answer 24/7. Fast dispatch from 7am to 7pm, Sunday through Friday. Or use our garage door installation team when the answer is a new door rather than a repair.
Written by the team at Akron Garage Door Repair Co.